GBP, £ 
FOX v.1.4.3.1
➝ Shipping to United Kingdom and Ireland.
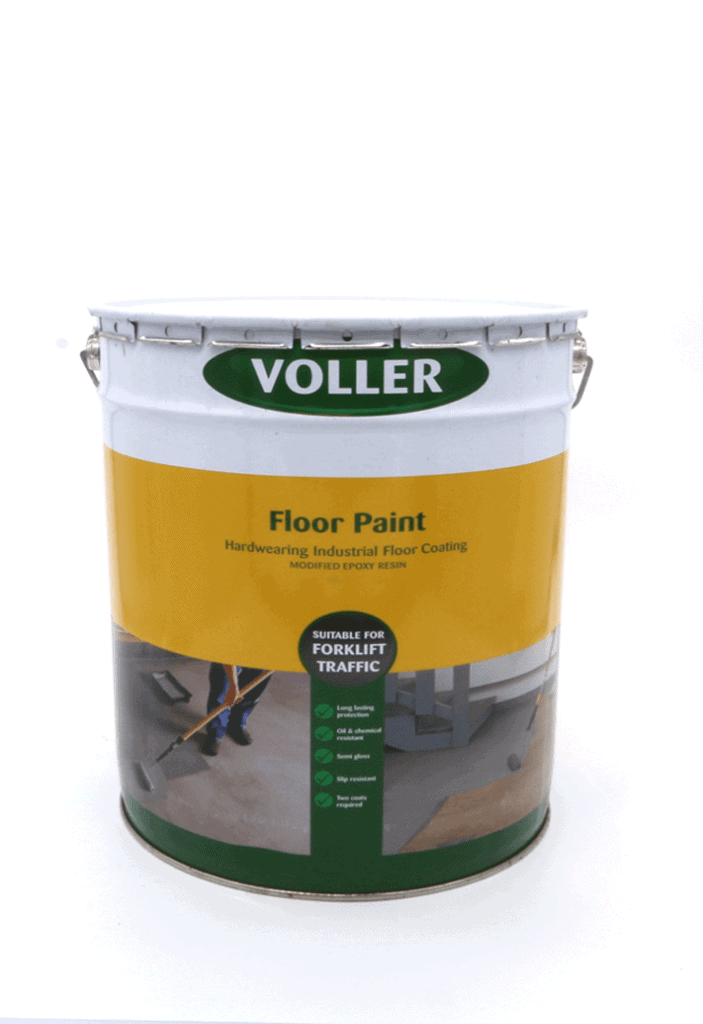
Voller Two Pack Epoxy Floor Paint is a high-quality, durable flooring solution designed to provide a robust and long-lasting semi-gloss finish. This two-component, solvent-based epoxy resin system offers excellent adhesion, protecting your floors from abrasion, chemicals, impact, and urea.
The Voller Two Pack Epoxy Floor Paint is an ideal solution for both commercial and residential applications. Its durability and resistance make it a top choice for high-traffic areas, spaces needing urea resistance, and outdoor environments:
2 PACK EPOXY FLOOR PAINT FLOOR PREPARATION
STEP 1:
Wash the floor using a degreasing solution. Rinse the
floor until it’s clean. If the floor is particularly dirty, is very
smooth or power floated, then it must be either
mechanically abraded or treated with Regal Clean and
Etch.
STEP 2:
To check whether the Regal Clean and Etch has worked
pour water onto the concrete to see if it absorbs. If the
water beads on the surface, you will need to repeat the
etching process.
STEP 3:
Areas of the floor that show imperfections will show
through the final coat. Imperfections must be sanded,
scraped or grinded to achieve a smooth surface. Brush or
vacuum the residue off the floor, along with any existing
flaking paint.
STEP 4:
If there are any holes or cracks in the concrete, fill them
using a trowel and patch compound. Let it dry before
continuing.
STEP 5:
It may be necessary to cut the edges of the walls /pillars
and posts/doorways with a hand paint brush first. This
will reduce the chance of paint splatter from your floor
roller. However, experienced contractors may feel they
can skip this process.
Things to Note Before Using 2 Pack Floor Paint
Drying Time 24hrs Per Coat:
The sealer will usually be ready for topcoating after 24
hours. However, it is important to test the sealer before
topcoating to ensure it is fully dry. If the sealer is still soft
or sticky, then a topcoat could entrap solvent in the
sealer.
5°C Minimum Floor Temperate:
It is always better to apply floor coatings in the morning,
this ensures that they have the warmest temperatures to
begin curing. It is very important to ensure that the
temperature of the substrate is above 5 degrees C.
Below this temperature the epoxy will not begin to
activate. 5 degrees C air temperature does necessarily
translate to the same in floor temperature.
Regal Floor Paints
Trade Paint for Professionals
01782 550733 – www.regalfloorpaint.co.uk
A GUIDE TO USING REGAL 2 PACK EPOXY FLOOR PAINT
STEP 6:
Ensure the different epoxy coats (ie sealer or topcoat)
are separated to ensure the correct activators are
assigned to the correct paint base. Pour the activator
into the paint base and mix.
STEP 7:
Mix the two components together with an electric drill
fitted with a mixer paddle. It is important to thoroughly
mix the two components together. This will ensure that
the heavier ingredients, which may settle to the bottom
of the can, are combined evenly through the can.
The mixing processes in all two pack epoxies, i.e.
sealer/primer/topcoats are the same.
STEP 8:
After you are satisfied that the two components are
completely mixed, let the can sit /sweat for approx. 10
minutes. This is called the induction period, allowing the
activator and the base to begin working together and
reducing the possibility of air bubbles in thicker coats.
STEP 9:
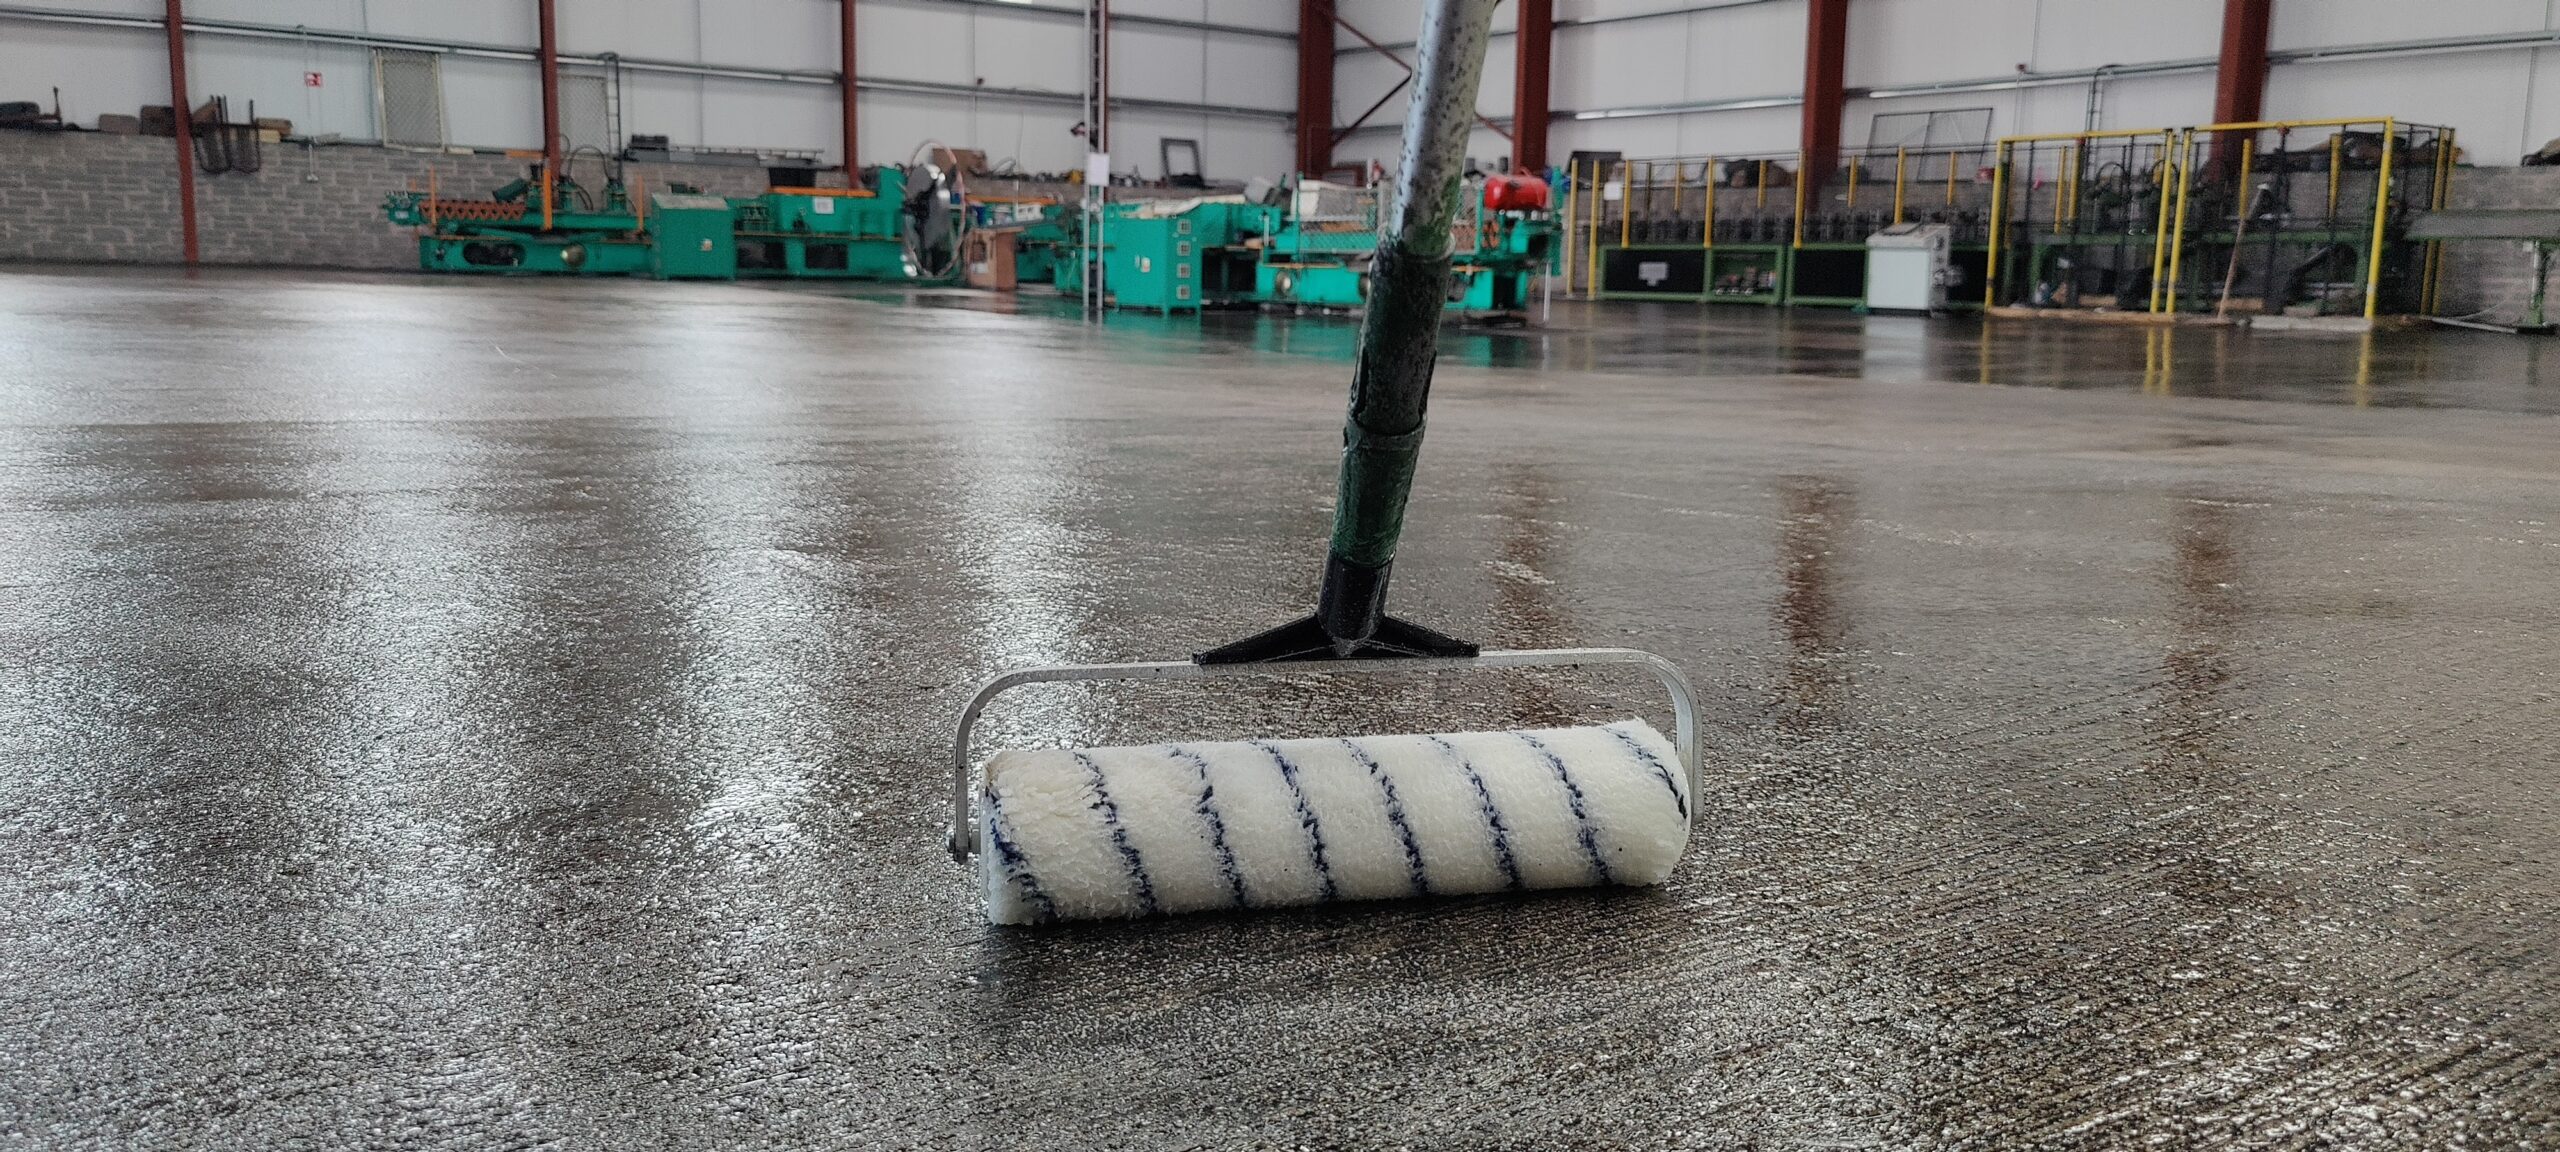
Pour out the sealer coat onto the floor in a thin line.
Roller this thin line of paint using a floor roller.
STEP 10:
For larger floors it is better to divide the floor into square
patches of approximately 3 x 3 metres. This allows you
to roller the paint initially in one direction and then from
the side at 90 degrees. Back rollering in the other
direction will avoid roller marks and achieve a better
finish.
Once the sealer coat is dry, apply one or two coats of the
2 pack epoxy floor paint (topcoat) or high-build epoxy
garage floor paint. The mixing procedure for the topcoat
is exactly the same as for the sealer. The pouring and
rollering procedures are also exactly the same. It is
advisable to leave the floor for a minimum of 48 hours
after top-coating before working on or operating
machinery on the floor.
Trade Suppliers of Industrial Protective Paint
Wash and degrease the floor. For power floated or heavily
contaminated floors, either Acid etch & clean or a diamond
surface grinder must be used to prepare the floor prior to painting.
To check if the etching or grinding process has been successful,
gently pour water on to the concrete. If the water immediately
absorbs it is ready for painting. If the water beads on the
surface, the etching process needs to be repeated.
Areas with imperfections will show through the finished epoxy
coating. Where required apply self levelling patch compound to
the floor to fill in any cracks or damage to the concrete and allow
to cure as directed. High areas should be ground or scraped to
achieve a smooth substrate for painting.
Brush or vacuum any dust or debris prior to painting
Open the Base component and thoroughly mix the container by
hand or with an electric mixer. Ensure that any settled base from
the bottom of the container has been reincorporated to the mixture.
When complete the mixture should have an even colour and
consistency throughout.
Open the Base component and thoroughly mix the container
by hand or with an electric mixer. Ensure that any settled base
from the bottom of the container has been reincorporated to the
mixture. When complete the mixture should have an even
colour and consistency throughout.
Coat 1 (wash coat):
Mix the base (part A) with the activator (part B) in the ratio of 7:1
and mix thoroughly for 2 minutes by hand or with an electric
stirrer.
NOTE: Mix the paint in batches that can be applied within the
1 hour working time (i.e. pot life). This is because the chemical
curing process cannot be stopped once the activator
(Part B) is mixed into the base (Part A).
Once thoroughly mixed add thinners (part C) at approximately a 2:1
ratio with the mixed epoxy and stir until combined. Apply a light even
coat to the floor with a short or medium pile mohair roller.
(Cutting in around corners and obstacles with a brush will help
to spatter on walls etc.)
Coat 2 (topcoat)
Allow the previous coat to cure for a minimum of 4hrs and checking you
can walk on the surface without marking the coating, you can check by
pressing the surface with your fingernail and making sure it does not lift
or stick to your finger. Alternatively leave the coating overnight.
Once satisfied that the previous coat has cured enough for overcoating
Repeat the process of mixing part A & B in batches and applying a thin
even coat to the entire floor.
NOTE: Areas of very high wear may benefit from a patch coating in
that area prior to coat 2 to increase the dry film thickness of the
finished floor in that area extending the longevity of the coating.
Coat 3 (topcoat)
In 3 coat scenarios allow the floor to cure as previous and apply a
final coat in the same manor as coat 2. Ensuring a thin even coat is
applied across the entire floor.
Allow 3 days before regular foot traffic or until the floor has cured to
where it cannot be marked by scratching it with your fingernail.
Allow the floor to cure for 7 days before vehicular traffic to ensure the
epoxy has reached full cure
Important Notes:
Brushes, rollers and trays should be cleaned with standard
Thinners between mixed batches.
When applying paint to a previously painted floor a small test
patch of the base paint should be applied in an inconspicuous area
and left for a minimum of 30 minutes to check if the 2 different
coating systems are compatible and do not react. In case of bubbling,
cracking, webbing etc. Contact your supplier for advice before
proceeding with application of the paint. Voller epoxy paints should only be mixed
with the recommended
Thinner.
5°C Minimum Floor Temperate: It is best practice to apply floor
coatings in the morning, this ensures that the coating has the
warmest temperatures throughout the day to begin curing.
It is very important to ensure that the temperature of the substrate is above 5
degrees C. Below this temperature the epoxy will not begin to activate. 5 degrees C
air temperature does necessarily translate to the same in floor temperature. If the
temperatures are below the specified limits space heaters may be used to artificially
heat the space.
| Use on: | New & existing concrete, stone, timber & prepared metal surfaces |
| Use where: | Internal |
| Typical industries: | Heavy Industrial applications inc. Factories, warehouses, workshops, processing plants, showrooms, retail outlets, veterinary surgeries, hospitals and schools |
| Approximate coverage: | 40-50 sqft per litre |
| Overcoating time: | 6 - 24 hrs. |
| Curing time: | Full cure: 7 days |
| Features: | Heavy duty, solvent based epoxy, easy to clean impervious surface, acid & oil resistant, impact & abrasion resistant, Suitable for very high traffic areas. |
Voller Two Pack Epoxy Floor Paint is a high-quality, durable flooring solution designed to provide a robust and long-lasting semi-gloss finish. This two-component, solvent-based epoxy resin system offers excellent adhesion, protecting your floors from abrasion, chemicals, impact, and urea.
The Voller Two Pack Epoxy Floor Paint is an ideal solution for both commercial and residential applications. Its durability and resistance make it a top choice for high-traffic areas, spaces needing urea resistance, and outdoor environments:
2 PACK EPOXY FLOOR PAINT FLOOR PREPARATION
STEP 1:
Wash the floor using a degreasing solution. Rinse the
floor until it’s clean. If the floor is particularly dirty, is very
smooth or power floated, then it must be either
mechanically abraded or treated with Regal Clean and
Etch.
STEP 2:
To check whether the Regal Clean and Etch has worked
pour water onto the concrete to see if it absorbs. If the
water beads on the surface, you will need to repeat the
etching process.
STEP 3:
Areas of the floor that show imperfections will show
through the final coat. Imperfections must be sanded,
scraped or grinded to achieve a smooth surface. Brush or
vacuum the residue off the floor, along with any existing
flaking paint.
STEP 4:
If there are any holes or cracks in the concrete, fill them
using a trowel and patch compound. Let it dry before
continuing.
STEP 5:
It may be necessary to cut the edges of the walls /pillars
and posts/doorways with a hand paint brush first. This
will reduce the chance of paint splatter from your floor
roller. However, experienced contractors may feel they
can skip this process.
Things to Note Before Using 2 Pack Floor Paint
Drying Time 24hrs Per Coat:
The sealer will usually be ready for topcoating after 24
hours. However, it is important to test the sealer before
topcoating to ensure it is fully dry. If the sealer is still soft
or sticky, then a topcoat could entrap solvent in the
sealer.
5°C Minimum Floor Temperate:
It is always better to apply floor coatings in the morning,
this ensures that they have the warmest temperatures to
begin curing. It is very important to ensure that the
temperature of the substrate is above 5 degrees C.
Below this temperature the epoxy will not begin to
activate. 5 degrees C air temperature does necessarily
translate to the same in floor temperature.
Regal Floor Paints
Trade Paint for Professionals
01782 550733 – www.regalfloorpaint.co.uk
A GUIDE TO USING REGAL 2 PACK EPOXY FLOOR PAINT
STEP 6:
Ensure the different epoxy coats (ie sealer or topcoat)
are separated to ensure the correct activators are
assigned to the correct paint base. Pour the activator
into the paint base and mix.
STEP 7:
Mix the two components together with an electric drill
fitted with a mixer paddle. It is important to thoroughly
mix the two components together. This will ensure that
the heavier ingredients, which may settle to the bottom
of the can, are combined evenly through the can.
The mixing processes in all two pack epoxies, i.e.
sealer/primer/topcoats are the same.
STEP 8:
After you are satisfied that the two components are
completely mixed, let the can sit /sweat for approx. 10
minutes. This is called the induction period, allowing the
activator and the base to begin working together and
reducing the possibility of air bubbles in thicker coats.
STEP 9:
Pour out the sealer coat onto the floor in a thin line.
Roller this thin line of paint using a floor roller.
STEP 10:
For larger floors it is better to divide the floor into square
patches of approximately 3 x 3 metres. This allows you
to roller the paint initially in one direction and then from
the side at 90 degrees. Back rollering in the other
direction will avoid roller marks and achieve a better
finish.
Once the sealer coat is dry, apply one or two coats of the
2 pack epoxy floor paint (topcoat) or high-build epoxy
garage floor paint. The mixing procedure for the topcoat
is exactly the same as for the sealer. The pouring and
rollering procedures are also exactly the same. It is
advisable to leave the floor for a minimum of 48 hours
after top-coating before working on or operating
machinery on the floor.
Trade Suppliers of Industrial Protective Paint
Wash and degrease the floor. For power floated or heavily
contaminated floors, either Acid etch & clean or a diamond
surface grinder must be used to prepare the floor prior to painting.
To check if the etching or grinding process has been successful,
gently pour water on to the concrete. If the water immediately
absorbs it is ready for painting. If the water beads on the
surface, the etching process needs to be repeated.
Areas with imperfections will show through the finished epoxy
coating. Where required apply self levelling patch compound to
the floor to fill in any cracks or damage to the concrete and allow
to cure as directed. High areas should be ground or scraped to
achieve a smooth substrate for painting.
Brush or vacuum any dust or debris prior to painting
Open the Base component and thoroughly mix the container by
hand or with an electric mixer. Ensure that any settled base from
the bottom of the container has been reincorporated to the mixture.
When complete the mixture should have an even colour and
consistency throughout.
Open the Base component and thoroughly mix the container
by hand or with an electric mixer. Ensure that any settled base
from the bottom of the container has been reincorporated to the
mixture. When complete the mixture should have an even
colour and consistency throughout.
Coat 1 (wash coat):
Mix the base (part A) with the activator (part B) in the ratio of 7:1
and mix thoroughly for 2 minutes by hand or with an electric
stirrer.
NOTE: Mix the paint in batches that can be applied within the
1 hour working time (i.e. pot life). This is because the chemical
curing process cannot be stopped once the activator
(Part B) is mixed into the base (Part A).
Once thoroughly mixed add thinners (part C) at approximately a 2:1
ratio with the mixed epoxy and stir until combined. Apply a light even
coat to the floor with a short or medium pile mohair roller.
(Cutting in around corners and obstacles with a brush will help
to spatter on walls etc.)
Coat 2 (topcoat)
Allow the previous coat to cure for a minimum of 4hrs and checking you
can walk on the surface without marking the coating, you can check by
pressing the surface with your fingernail and making sure it does not lift
or stick to your finger. Alternatively leave the coating overnight.
Once satisfied that the previous coat has cured enough for overcoating
Repeat the process of mixing part A & B in batches and applying a thin
even coat to the entire floor.
NOTE: Areas of very high wear may benefit from a patch coating in
that area prior to coat 2 to increase the dry film thickness of the
finished floor in that area extending the longevity of the coating.
Coat 3 (topcoat)
In 3 coat scenarios allow the floor to cure as previous and apply a
final coat in the same manor as coat 2. Ensuring a thin even coat is
applied across the entire floor.
Allow 3 days before regular foot traffic or until the floor has cured to
where it cannot be marked by scratching it with your fingernail.
Allow the floor to cure for 7 days before vehicular traffic to ensure the
epoxy has reached full cure
Important Notes:
Brushes, rollers and trays should be cleaned with standard
Thinners between mixed batches.
When applying paint to a previously painted floor a small test
patch of the base paint should be applied in an inconspicuous area
and left for a minimum of 30 minutes to check if the 2 different
coating systems are compatible and do not react. In case of bubbling,
cracking, webbing etc. Contact your supplier for advice before
proceeding with application of the paint. Voller epoxy paints should only be mixed
with the recommended
Thinner.
5°C Minimum Floor Temperate: It is best practice to apply floor
coatings in the morning, this ensures that the coating has the
warmest temperatures throughout the day to begin curing.
It is very important to ensure that the temperature of the substrate is above 5
degrees C. Below this temperature the epoxy will not begin to activate. 5 degrees C
air temperature does necessarily translate to the same in floor temperature. If the
temperatures are below the specified limits space heaters may be used to artificially
heat the space.
| Use on: | New & existing concrete, stone, timber & prepared metal surfaces |
| Use where: | Internal |
| Typical industries: | Heavy Industrial applications inc. Factories, warehouses, workshops, processing plants, showrooms, retail outlets, veterinary surgeries, hospitals and schools |
| Approximate coverage: | 40-50 sqft per litre |
| Overcoating time: | 6 - 24 hrs. |
| Curing time: | Full cure: 7 days |
| Features: | Heavy duty, solvent based epoxy, easy to clean impervious surface, acid & oil resistant, impact & abrasion resistant, Suitable for very high traffic areas. |
+44 7481 251662
specialistcoatingsireland@gmail.com